
Hi there!
I have been doing pretty well recently at creating. Today however I hit a bit of a block and when I sat down at my craft desk, nothing happened for a while. I have very limited free time to craft and have to make the most of every minute, so I had a look at some challenge blogs to see if I could get inspired. Because I am trying to focus on building my Christmas stash at the moment, I took a look at the Muse Christmas Visions challenge where I found this fabulous card by Kimberley Wiener of Wienerhoneymooners:
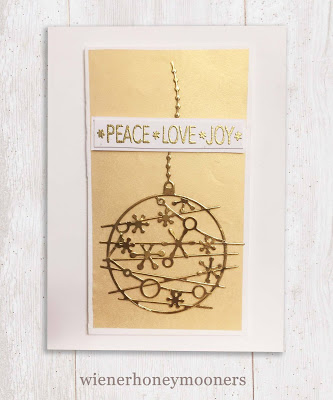
I was inspired by the circular element, the monochromatic colour scheme and the embossing.
I decided to use the Cheers to the Year stamp set again. I think this set really lends itself to clean and simple cards because of the elegance of the images and sentiments. Check out my other post using this set here.
For each card I have tried to stick to the formula: 1 stamp set -2 colours – 3 elements
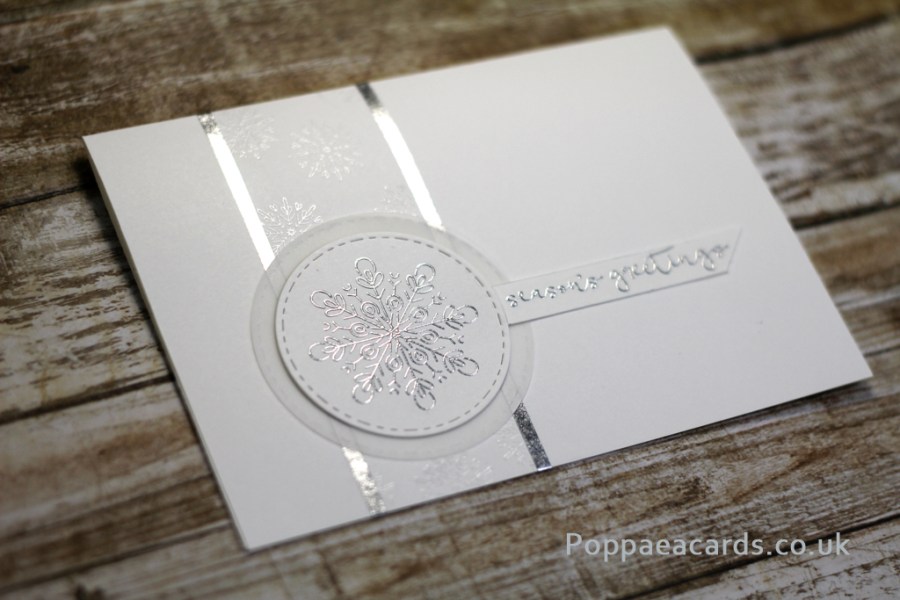
For this card I created a band of white embossed small snowflakes by using post-its to mask off the rest of the card. I repeatedly stamped the image in Versamark ink then covered in white embossing powder before heating. In order to make sure that the white on white didn’t get lost, I used silver washi to border each edge. For the main embellishment I stamped the larger snowflake onto a circular die cut and embossed this in silver. I was so pleased at how crisp and detailed the image turned out! I added this to a vellum die cut and adhered this above the small snowflake band. In the set, the sentiment is on two lines but I needed it to be on one line so that I had an element to add some width to the card. I stamped the word “greeting” first due to this being the taller word (the g’s and the t adding height). To do this, I masked off the word “season’s” with a post-it and inked up the part I needed. It was really important that I made sure the stamp was super clean before I continued and used the same process to stamp the “season’s”.
1 stamp set = Cheers to the Year
2 colours = silver and white
3 elements = embossing, vellum and washi

This second card was super quick to do – I stamped the circle image in purple and then stamped the cluster of stars around the edge of the circle repeatedly in Versamark, embossing with gold powder. I made sure to keep turning the star stamp so that it did not look like a repeated pattern. To finish, I simply stamped and embossed the sentiment in gold.
1 stamp set = Cheers to the Year
2 colours = gold and purple
3 elements = stars, circle focal and sentiment.
I hope you like what you see. I have my own shopping page on Stampin’ Up! which you can see here, or else click direct on the product links below.
Products used:
Stamp set: Cheers to the Year (144928)
Ink: Wisteria Wonder (126985); Versamark Ink (102283)
Cardstock:
Extras: Year of Cheer Speciality Washi Tape (144644); Gold Stampin’ Emboss Powder (109129); Silver Stampin’ Emboss Powder (109131)

I love both of these cards, so simple and elegant looking. Thank you so much for sharing.
Thank you Aileen! Cx
WOW! So elegant, simple and yet sophisticated, too! Just lovely! Thanks so much for joining us at MCV!
This is so very clean, simple, and VERY elevated elegant!!! LOOOOVE the silver and snowflakes, Im inspired by your card!
Ready to emboss some snowflakes!!! Thanks for the kind words about my card, so glad it will help get your Christmas Cards going!
Thanks so very much for joining MUSE Christmas Visions! Keep checking back as we are now biweekly!!!
Very pretty, your silver version of the MCV card! But I am especially swooning over your second card – such a CAS beauty! Thanks so much, for playing with us at MCV!
Thank you! I like my second card too but thought it was a bit too simple to enter into the competition. Thank you for your kind comments, Cx
Hi Chrissie I love the white card so simple yet very stylish will be copying the idea
See you soon Jan
Thanks Jan, I would love to see what you come up with! Cx
It was a long time since I saw such classically elegant cards, nicely worked!
Thank you so much for your kind comment 😀
I beautiful and stunning take on Kimberleys card!x
Such elegant cards, Christine. Love them both.
Thank you Marianne! Cx
Saw your lovely card on MCV and voted for it – it’s a very classy looking card!
Sharon
x
Thankyou so much! Cx
Two gorgeous cards Christine
Absolutely beautiful! Sometimes less is more beautiful.
Thank you for sharing.
Thank you Barbara!
I was looking for something different on Pinterest and found this simple but elegant card. Love your passion for card making. Kia
Thank you for your kind comment Kia!